Hey there! As a supplier of Louver PVC Marble Sheets, I've seen firsthand how crucial it is to get the alignment right during installation. It can make or break the look of your project, whether it's a home renovation or a commercial space. So, in this blog, I'm gonna share some tips on how to align louver PVC marble sheets like a pro.
Pre - installation Preparation
Before you even start installing the sheets, you need to do some groundwork. First off, measure the area where you're gonna install the sheets. This is super important because it'll help you figure out how many sheets you need and how they'll fit together. Make sure to measure twice to avoid any mistakes.
Next, clean the surface where the sheets will be installed. Any dirt, dust, or debris can affect the adhesion of the sheets and mess up the alignment. Use a good quality cleaner and a clean cloth to wipe down the surface until it's completely clean and dry.
Also, it's a good idea to lay out the sheets on the floor near the installation area. This way, you can get a sense of how they'll look once they're up on the wall or wherever you're putting them. Check for any visible defects or damage on the sheets at this stage. If you find any, set those sheets aside and contact us at our company. We'll sort it out for you.
Tools You'll Need
To align the louver PVC marble sheets properly, you'll need a few essential tools. A tape measure is a must - have. You'll use it to measure the distance between the sheets and ensure they're evenly spaced. A level is also crucial. It'll help you make sure the sheets are straight and not tilted. You can use a spirit level or a laser level, depending on your preference and the size of the project.
A utility knife is needed to cut the sheets if you need to trim them to fit. Make sure the blade is sharp to get a clean cut. And don't forget about a pencil or a marker. You'll use it to mark the position of the sheets on the surface before you start installing them.
Marking the Installation Area
Once you've got everything ready, it's time to mark the installation area. Start by finding a reference point. This could be a corner of the room, a door frame, or a window. Use your level to draw a straight horizontal or vertical line from this reference point. This line will act as a guide for the first sheet.
If you're installing multiple sheets side by side, use your tape measure to mark the position of each sheet along the line. Make sure to leave a small gap between the sheets. This gap is called an expansion gap, and it allows the sheets to expand and contract with changes in temperature and humidity without warping or cracking. A gap of about 1/8 inch is usually sufficient.
Installing the First Sheet
Now, it's time to install the first sheet. Apply adhesive to the back of the sheet according to the manufacturer's instructions. Make sure to spread the adhesive evenly to ensure good adhesion. Carefully place the sheet against the marked line on the surface. Use your level to check if it's straight. If it's not, adjust it until it is.
Once the sheet is in the right position, press it firmly against the surface to bond it. You can use a roller or a flat tool to apply even pressure across the sheet. This will help get rid of any air bubbles between the sheet and the surface.

Aligning Subsequent Sheets
When installing the next sheet, align it with the first one. Make sure the edges of the sheets are flush. You can use a spacer to maintain the expansion gap between the sheets. Place the spacer between the two sheets and then apply adhesive to the back of the new sheet.
As you place the new sheet next to the previous one, check for alignment both horizontally and vertically. Use your level to ensure it's straight, and your tape measure to make sure the spacing is consistent. Press the new sheet firmly against the surface and the adjacent sheet to bond it in place.
Dealing with Corners and Edges
Corners and edges can be a bit tricky when it comes to alignment. For inside corners, you can cut the sheets at a 45 - degree angle. This will create a clean and seamless look at the corner. Use a miter saw or a sharp utility knife to make the cuts. Make sure the cuts are precise for a good fit.
For outside corners, you can use corner trim pieces. These are specially designed to cover the edges and give a finished look. They also help with alignment by providing a straight edge for the sheets to butt up against.
Checking and Adjusting
Throughout the installation process, it's important to constantly check the alignment. Every few sheets, step back and look at the overall installation. Check for any visible gaps, unevenness, or misalignments. If you notice any issues, don't hesitate to make adjustments. You can gently pry up a sheet and re - position it if needed.
Final Touches
Once all the sheets are installed and aligned, you can add some final touches. Clean the surface of the sheets to remove any adhesive residue. You can use a mild cleaner and a soft cloth for this. If you used any temporary spacers, remove them carefully.
If you want to enhance the look of the installation, you can add some decorative trim around the edges. This can give your project a more polished and professional appearance.
Conclusion
Aligning louver PVC marble sheets during installation might seem like a daunting task, but with the right preparation, tools, and techniques, it can be done easily. Remember, proper alignment is key to getting a beautiful and long - lasting installation.
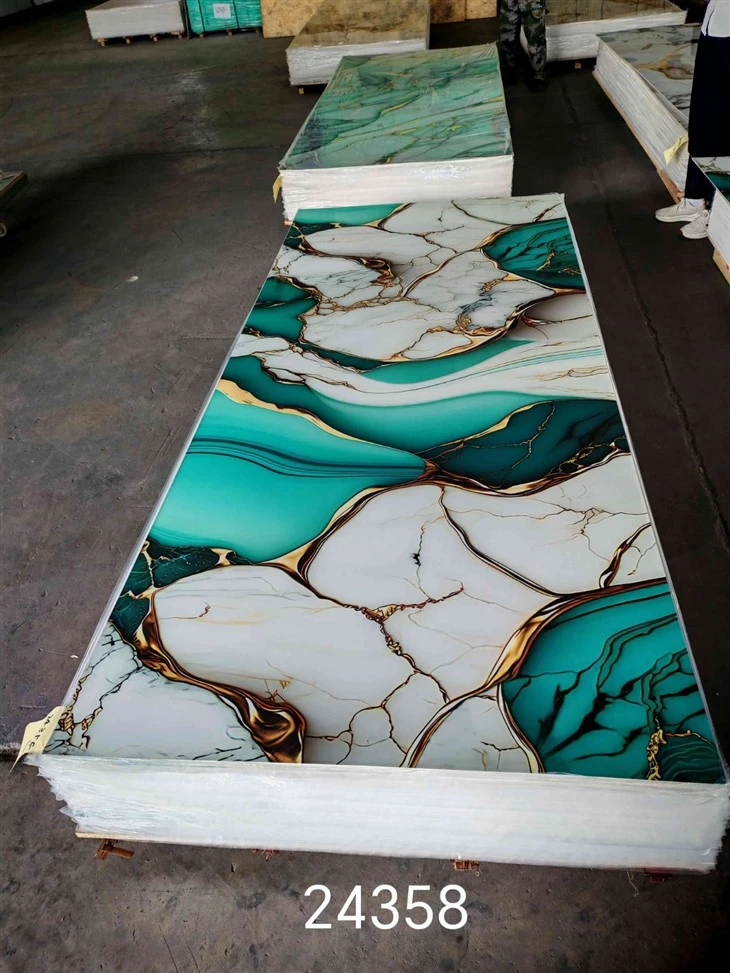
If you're interested in our 120028002.5 MM PVC MARBLE SHEETS, 120028002.5MM PVC MARBLE SHEETS, or Factory UV Marble Plastic Sheet PVC Wall Panel Decoration Marble, don't hesitate to contact us for more information or to start a procurement negotiation. We're here to help you with all your louver PVC marble sheet needs.
References
- PVC Marble Sheet Installation Guide - Manufacturer's Manual
- DIY Home Improvement Books on Wall Panel Installation


