Hey there! I'm a supplier of 400mm Indoor WPC Board, and I've been getting a lot of questions lately about how to ensure a seamless connection between our 400mm Indoor WPC Board and other boards. So, I thought I'd write this blog post to share some tips and tricks based on my experience in the industry.
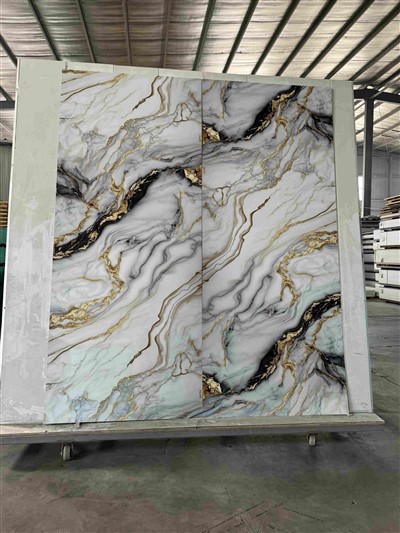
First off, let's talk about what WPC board is. WPC stands for Wood - Plastic Composite. It's a great material for indoor use because it combines the natural look of wood with the durability and low - maintenance of plastic. Our 400mm Indoor WPC Board 400mm Indoor WPC Board is designed to be easy to install and looks fantastic in any indoor space, whether it's a home, office, or commercial building.
Understanding the Basics of Board Connection
Before we start connecting different boards, it's crucial to understand the basics. The key to a seamless connection lies in proper preparation and the right installation techniques.
Measuring and Planning
The first step is to measure the area where you'll be installing the boards. Make sure to measure accurately, as even a small error can lead to gaps or misalignments. Plan out how you want to arrange the 400mm Indoor WPC Board along with other boards, such as the 600mm Indoor WPC Board. Consider the pattern, direction, and the overall aesthetic you're trying to achieve.
For example, if you're creating a diagonal pattern, you'll need to cut the boards at the right angles. Use a good quality measuring tape and a square to ensure your measurements are precise. Mark the cutting lines clearly on the boards before you start cutting.
Surface Preparation
The surface where the boards will be installed needs to be clean, dry, and level. Remove any dirt, dust, or debris from the surface. If there are any bumps or uneven areas, sand them down or use a leveling compound. A smooth surface will help the boards fit together properly and prevent any future problems.
Connecting 400mm Indoor WPC Board with Other Boards
Using the Right Fasteners
The type of fasteners you use is crucial for a seamless connection. For WPC boards, screws or nails that are specifically designed for composite materials are recommended. These fasteners are usually corrosion - resistant, which is important for the longevity of the installation.
When using screws, make sure to pre - drill holes to prevent the boards from splitting. The size of the holes should be slightly smaller than the diameter of the screws. Place the screws at the recommended intervals, usually around 6 - 8 inches apart, depending on the board's width and the manufacturer's instructions.
Edge - to - Edge Connection
One of the most common ways to connect boards is edge - to - edge. When connecting the 400mm Indoor WPC Board with other boards, make sure the edges are clean and free of any burrs. Align the boards carefully, using a level to ensure they are straight.
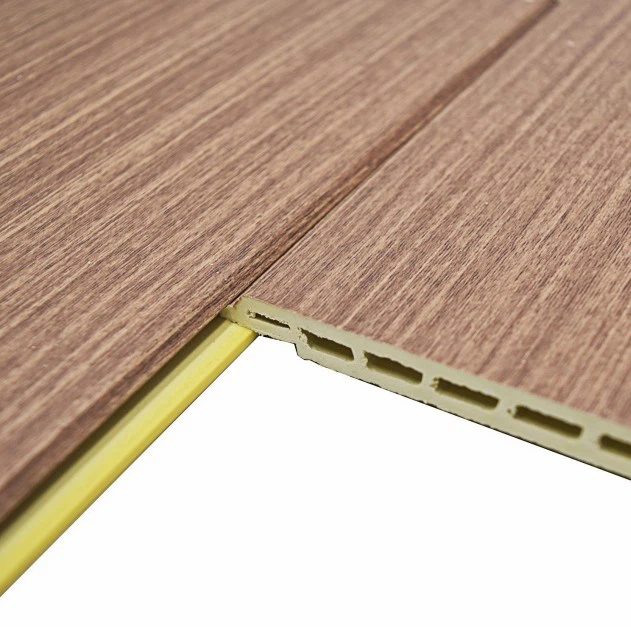
You can use a tongue - and - groove system if your boards have one. This system allows the boards to fit together tightly, creating a seamless look. Simply slide the tongue of one board into the groove of the adjacent board and tap it gently with a rubber mallet until it fits snugly.
Mitre Joints
If you're creating a corner or an angled connection, mitre joints can be a great option. To create a mitre joint, cut the ends of the boards at a 45 - degree angle. Make sure the cuts are accurate, as a small error can result in a visible gap at the joint.
Use a mitre saw for precise cuts. After cutting the boards, test the fit by placing them together. If there are any gaps, you can sand the edges slightly to adjust the fit. Once the fit is perfect, you can use glue or fasteners to secure the joint.
Dealing with Expansion and Contraction
WPC boards, like any other material, expand and contract with changes in temperature and humidity. To prevent the boards from buckling or warping, it's important to leave some expansion gaps.
Expansion Gaps
When installing the 400mm Indoor WPC Board and other boards, leave a gap of about 1/8 to 1/4 inch around the perimeter of the installation. This gap allows the boards to expand and contract freely without causing any damage. You can use spacers to ensure the gaps are consistent.
At the joints between the boards, also leave a small gap of about 1/16 inch. This gap will help prevent the boards from pushing against each other and causing unsightly bulges.
Finishing Touches
After the boards are installed, it's time for the finishing touches. You can use a filler to fill any small gaps or holes. Make sure to choose a filler that is compatible with WPC boards.
Sand the surface of the boards lightly to smooth out any rough edges or imperfections. You can then apply a sealant or a finish to protect the boards and enhance their appearance.
Troubleshooting Common Issues
Even with the best preparation and installation, you may encounter some issues. Here are some common problems and how to solve them:
Gaps at the Joints
If you notice gaps at the joints, it could be due to inaccurate cutting or improper alignment. First, check if the cuts are straight. If not, you may need to recut the boards. If the alignment is the problem, you can try adjusting the boards and using shims to fill the gaps.
Uneven Surfaces
An uneven surface can be caused by an uneven sub - floor or improper installation. If the sub - floor is the issue, you may need to level it. If the problem is with the installation, you can try adjusting the fasteners or adding additional support.
Quality Control
Before considering your project complete, it's essential to conduct a thorough quality control check. Walk around the installed area and inspect the connections from different angles. Look for any visible gaps, unevenness, or loose fasteners.
If you find any issues, don't hesitate to make the necessary adjustments. A high - quality installation will not only look better but also last longer.

Conclusion
Ensuring a seamless connection between the 400mm Indoor WPC Board and other boards requires proper planning, the right installation techniques, and attention to detail. By following the tips and tricks outlined in this blog post, you can achieve a professional - looking installation that will enhance the beauty and functionality of your indoor space.
If you're interested in purchasing our 400mm Indoor WPC Board or have any questions about installation, feel free to reach out. We're here to help you with your project and ensure you get the best results.
References
- Composite Decking Installation Guide, Manufacturer's Manual
- Wood - Plastic Composite Materials: Properties and Applications, Industry Research Report