Hey there! I'm a supplier of 5mm bamboo charcoal boards, and I'm super stoked to share with you how to install these awesome boards. Whether you're a DIY enthusiast or a professional contractor, this guide will walk you through the process step by step.
Why Choose 5mm Bamboo Charcoal Boards?
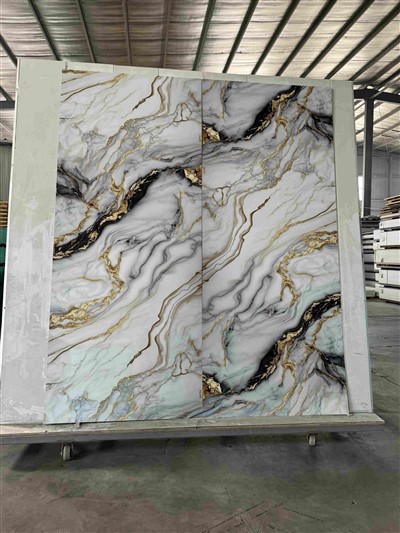
First off, let me tell you why 5mm bamboo charcoal boards are a great choice. These boards are not only eco - friendly but also have some amazing features. Bamboo is a fast - growing renewable resource, so you're doing the planet a favor by using it. The charcoal in the board helps with odor absorption and moisture control, making it perfect for areas like bathrooms, kitchens, or any place where you might have humidity or bad smells.
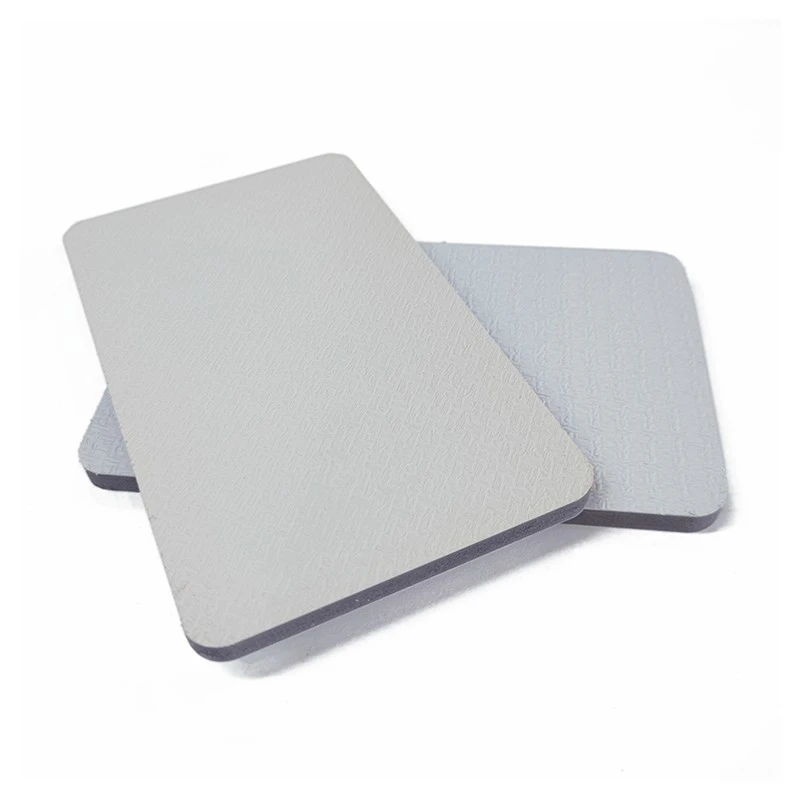

We offer different types of 5mm bamboo charcoal boards, such as the 5mm Ordinary PVC Film Bamboo Charcoal Board, the 5mm Metallic Film Bamboo Charcoal Board, and the 5mm PET Metal Film Bamboo Charcoal Board. Each type has its own unique look and properties, so you can choose the one that suits your project best.
Pre - installation Preparation
Before you start installing the 5mm bamboo charcoal boards, there are a few things you need to do.
Measure the Area
Grab a tape measure and accurately measure the area where you're going to install the boards. This will help you figure out how many boards you need to buy. Make sure to measure the length and width of the wall or surface, and don't forget to account for any cutouts for windows, doors, or electrical outlets.
Gather Your Tools
You'll need a few basic tools for the installation. Here's a list:
- A utility knife: This is for cutting the boards to size.
- A measuring tape: To double - check your measurements.
- A level: To make sure the boards are installed straight.
- A hammer and nails or a nail gun: Depending on your preference, you'll use these to attach the boards to the wall.
- A pencil: For marking the boards and the wall.
Prepare the Surface
The surface where you're installing the boards needs to be clean, dry, and flat. If there are any bumps, holes, or debris, fix them before you start. You can use sandpaper to smooth out rough areas or spackle to fill in holes.
Installation Steps
Step 1: Mark the Wall
Use your pencil and measuring tape to mark the starting point on the wall. This is usually the bottom - left corner. Make sure the mark is straight and level. You can use a level to double - check.
Step 2: Cut the Boards
If you need to cut the boards to fit your space, use a utility knife. Score the board along the cut line a few times, then snap it along the scored line. For more precise cuts, especially if you're making angled cuts, you can use a saw. Just be careful and wear safety goggles.
Step 3: Start Installing the Boards
Begin at the marked starting point. Take the first board and hold it against the wall. If you're using nails, pre - drill holes in the board to prevent it from splitting. Then, use your hammer or nail gun to attach the board to the wall. Space the nails about 6 - 8 inches apart along the edges and in the middle of the board.
As you install each board, make sure it's level and flush with the previous one. You can use a level to check for straightness. If the boards have a tongue - and - groove system, simply slide the tongue of one board into the groove of the adjacent board.
Step 4: Cut and Install Around Obstacles
When you reach a window, door, or electrical outlet, you'll need to cut the board to fit around it. Measure the opening, transfer the measurements to the board, and then cut it using a utility knife or saw. Install the cut board carefully, making sure it fits snugly around the obstacle.
Step 5: Finish the Installation
Continue installing the boards until the entire area is covered. Once you've installed the last board, check for any gaps or unevenness. If there are small gaps, you can use caulk to fill them in.
Post - installation Tips
After you've installed the 5mm bamboo charcoal boards, there are a few things you can do to ensure they last.
- Keep the area clean: Wipe down the boards regularly with a damp cloth to remove dust and dirt.
- Avoid excessive moisture: Although the boards can handle some humidity, try to keep the area well - ventilated to prevent water damage.
- Check for loose nails: Periodically check the nails to make sure they're still secure. If you find any loose nails, re - nail them.
Contact for Purchase and Consultation
If you're interested in purchasing our 5mm bamboo charcoal boards or have any questions about the installation process, don't hesitate to reach out. We're here to help you with your project and make sure you get the best product for your needs. Whether you're working on a small home improvement project or a large commercial job, we've got you covered.
References
- Bamboo Industry Association. (2023). Bamboo Product Installation Guide.
- DIY Home Improvement Magazine. (2023). Tips for Installing Wall Panels.